Week 4 – Vocals

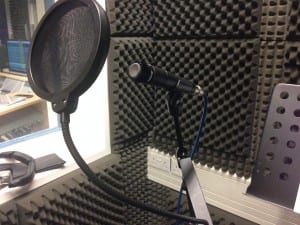
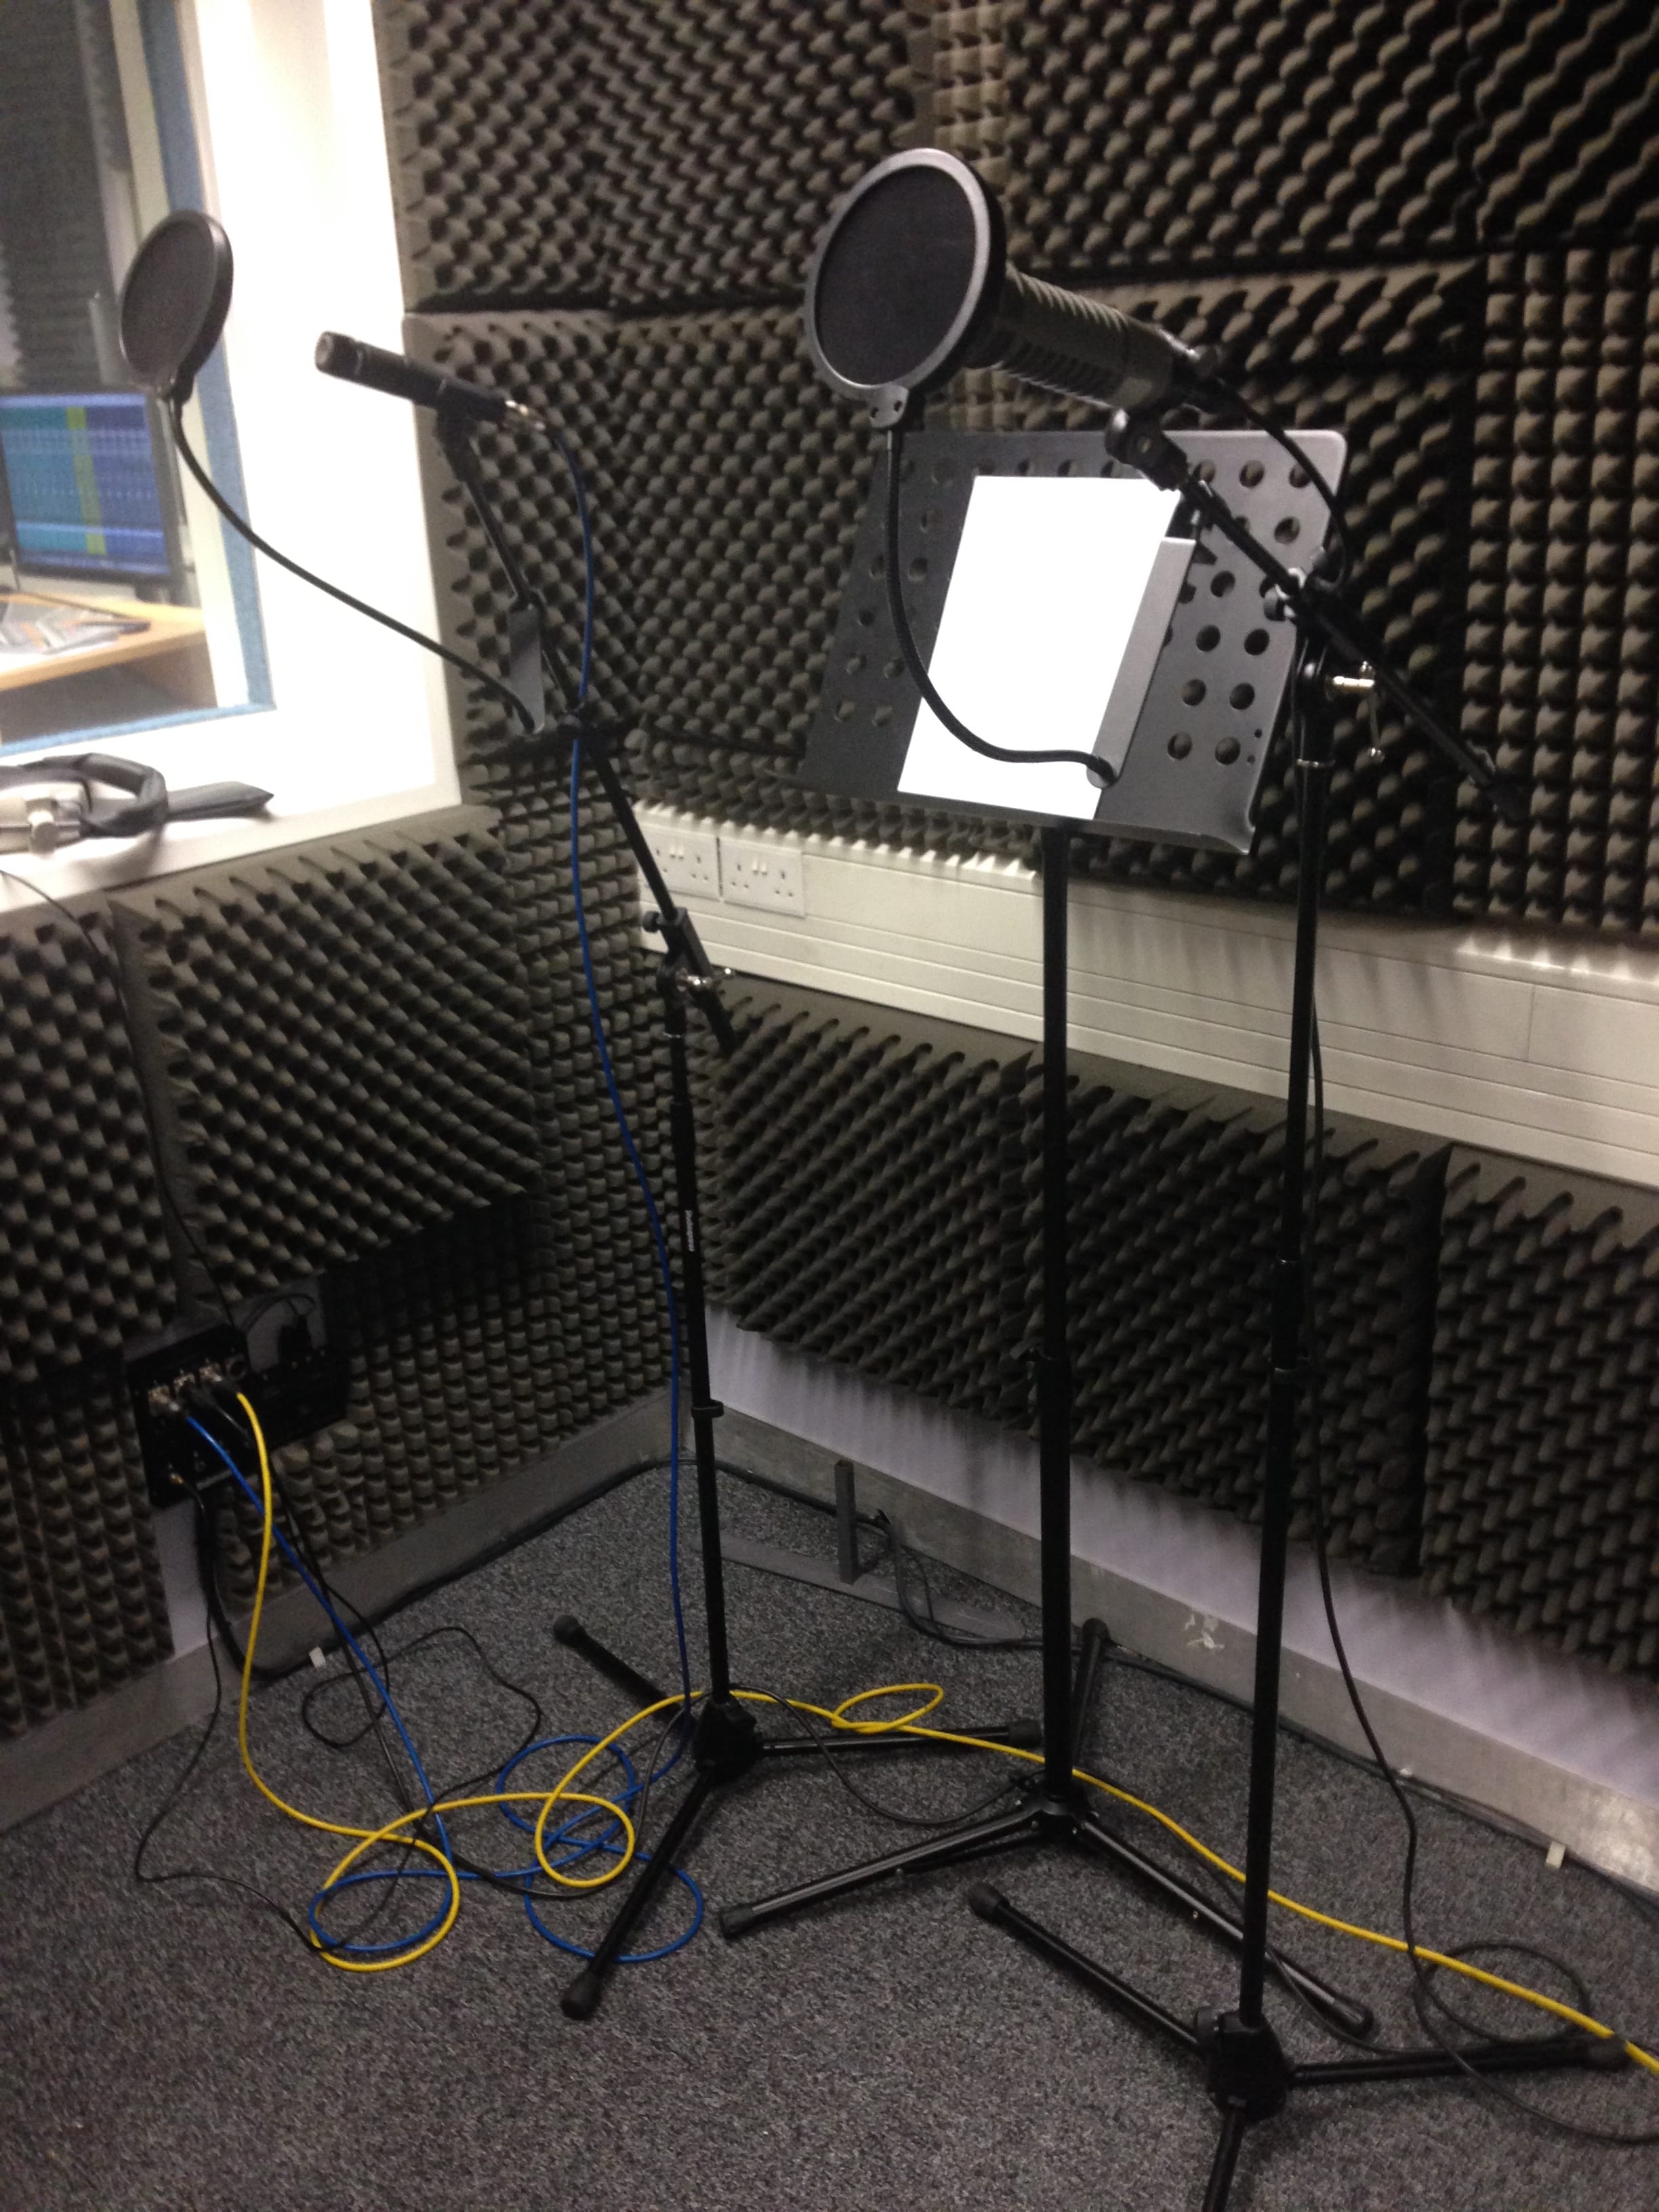
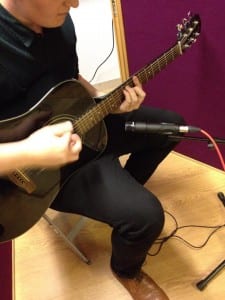
This week we worked on the vocal part for our track. When recording vocals, microphone selection is crucial as certain microphones work better with different vocal styles than others. For this reason we selected three microphones to compare to see which gave us the best sound. The three microphones were set up on individual stands with a pop shield placed in front of each. Having set up the headphone mix in the dead room we got the vocalist to sing in each microphone and from the monitor mix in the control room we judged each microphones sound. The three microphones we used were…

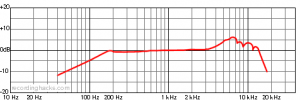
Shure SM57 – A versatile dynamic microphone with a cardioid polar patter; ideal for snare drums, guiar cabs and for vocals. Boosted frequency response around 6/7KHz ideal for vocals. Strong proximity effect when the vocalist is close to the mic.

0006
Frequency Response Chart – Shure SM57

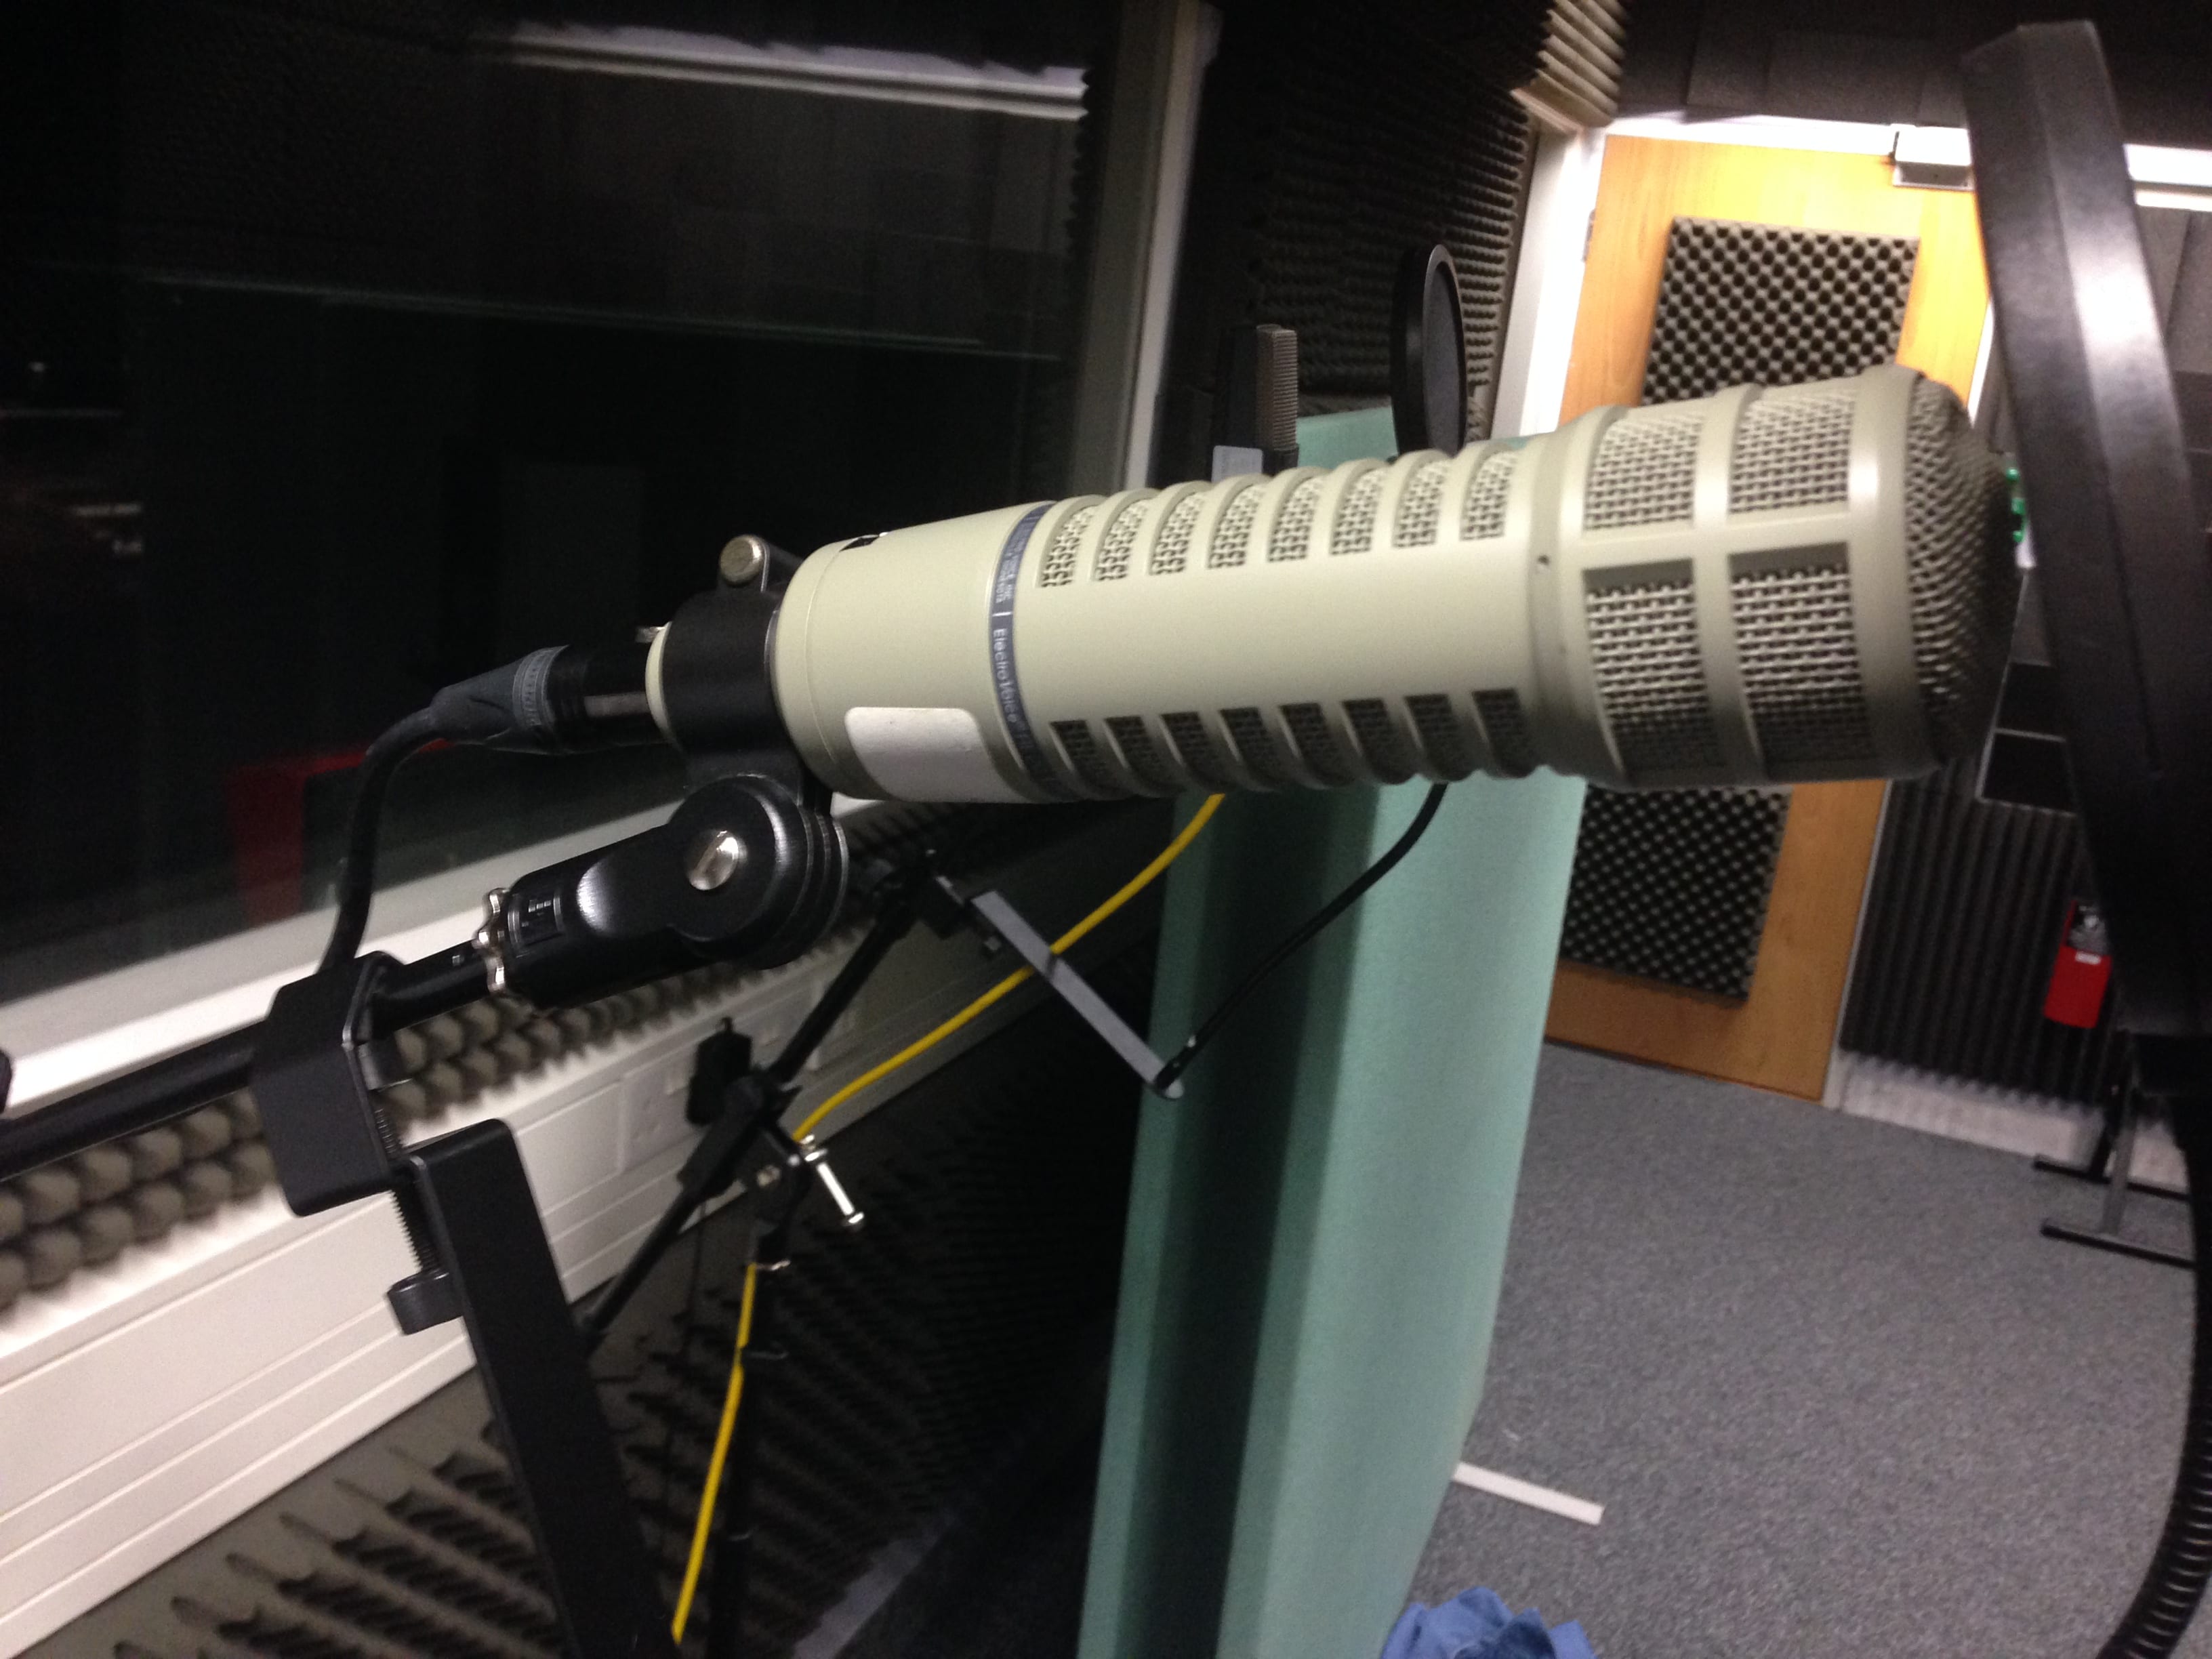
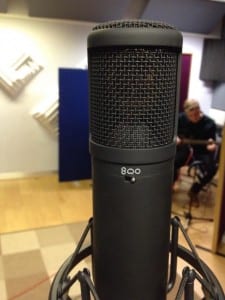
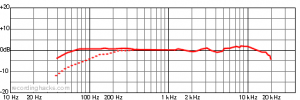
Electro-Voice RE20 – A large diaphragm dynamic microphone with a cardioid polar pattern, usually used as a broadcast mic or on a kick drum. Relatively flat frequency response. Little proximity effect. Optional High Pass Filter switch (-2.25dB/oct at 400Hz).

0417
Frequency Response Chart – EV RE20

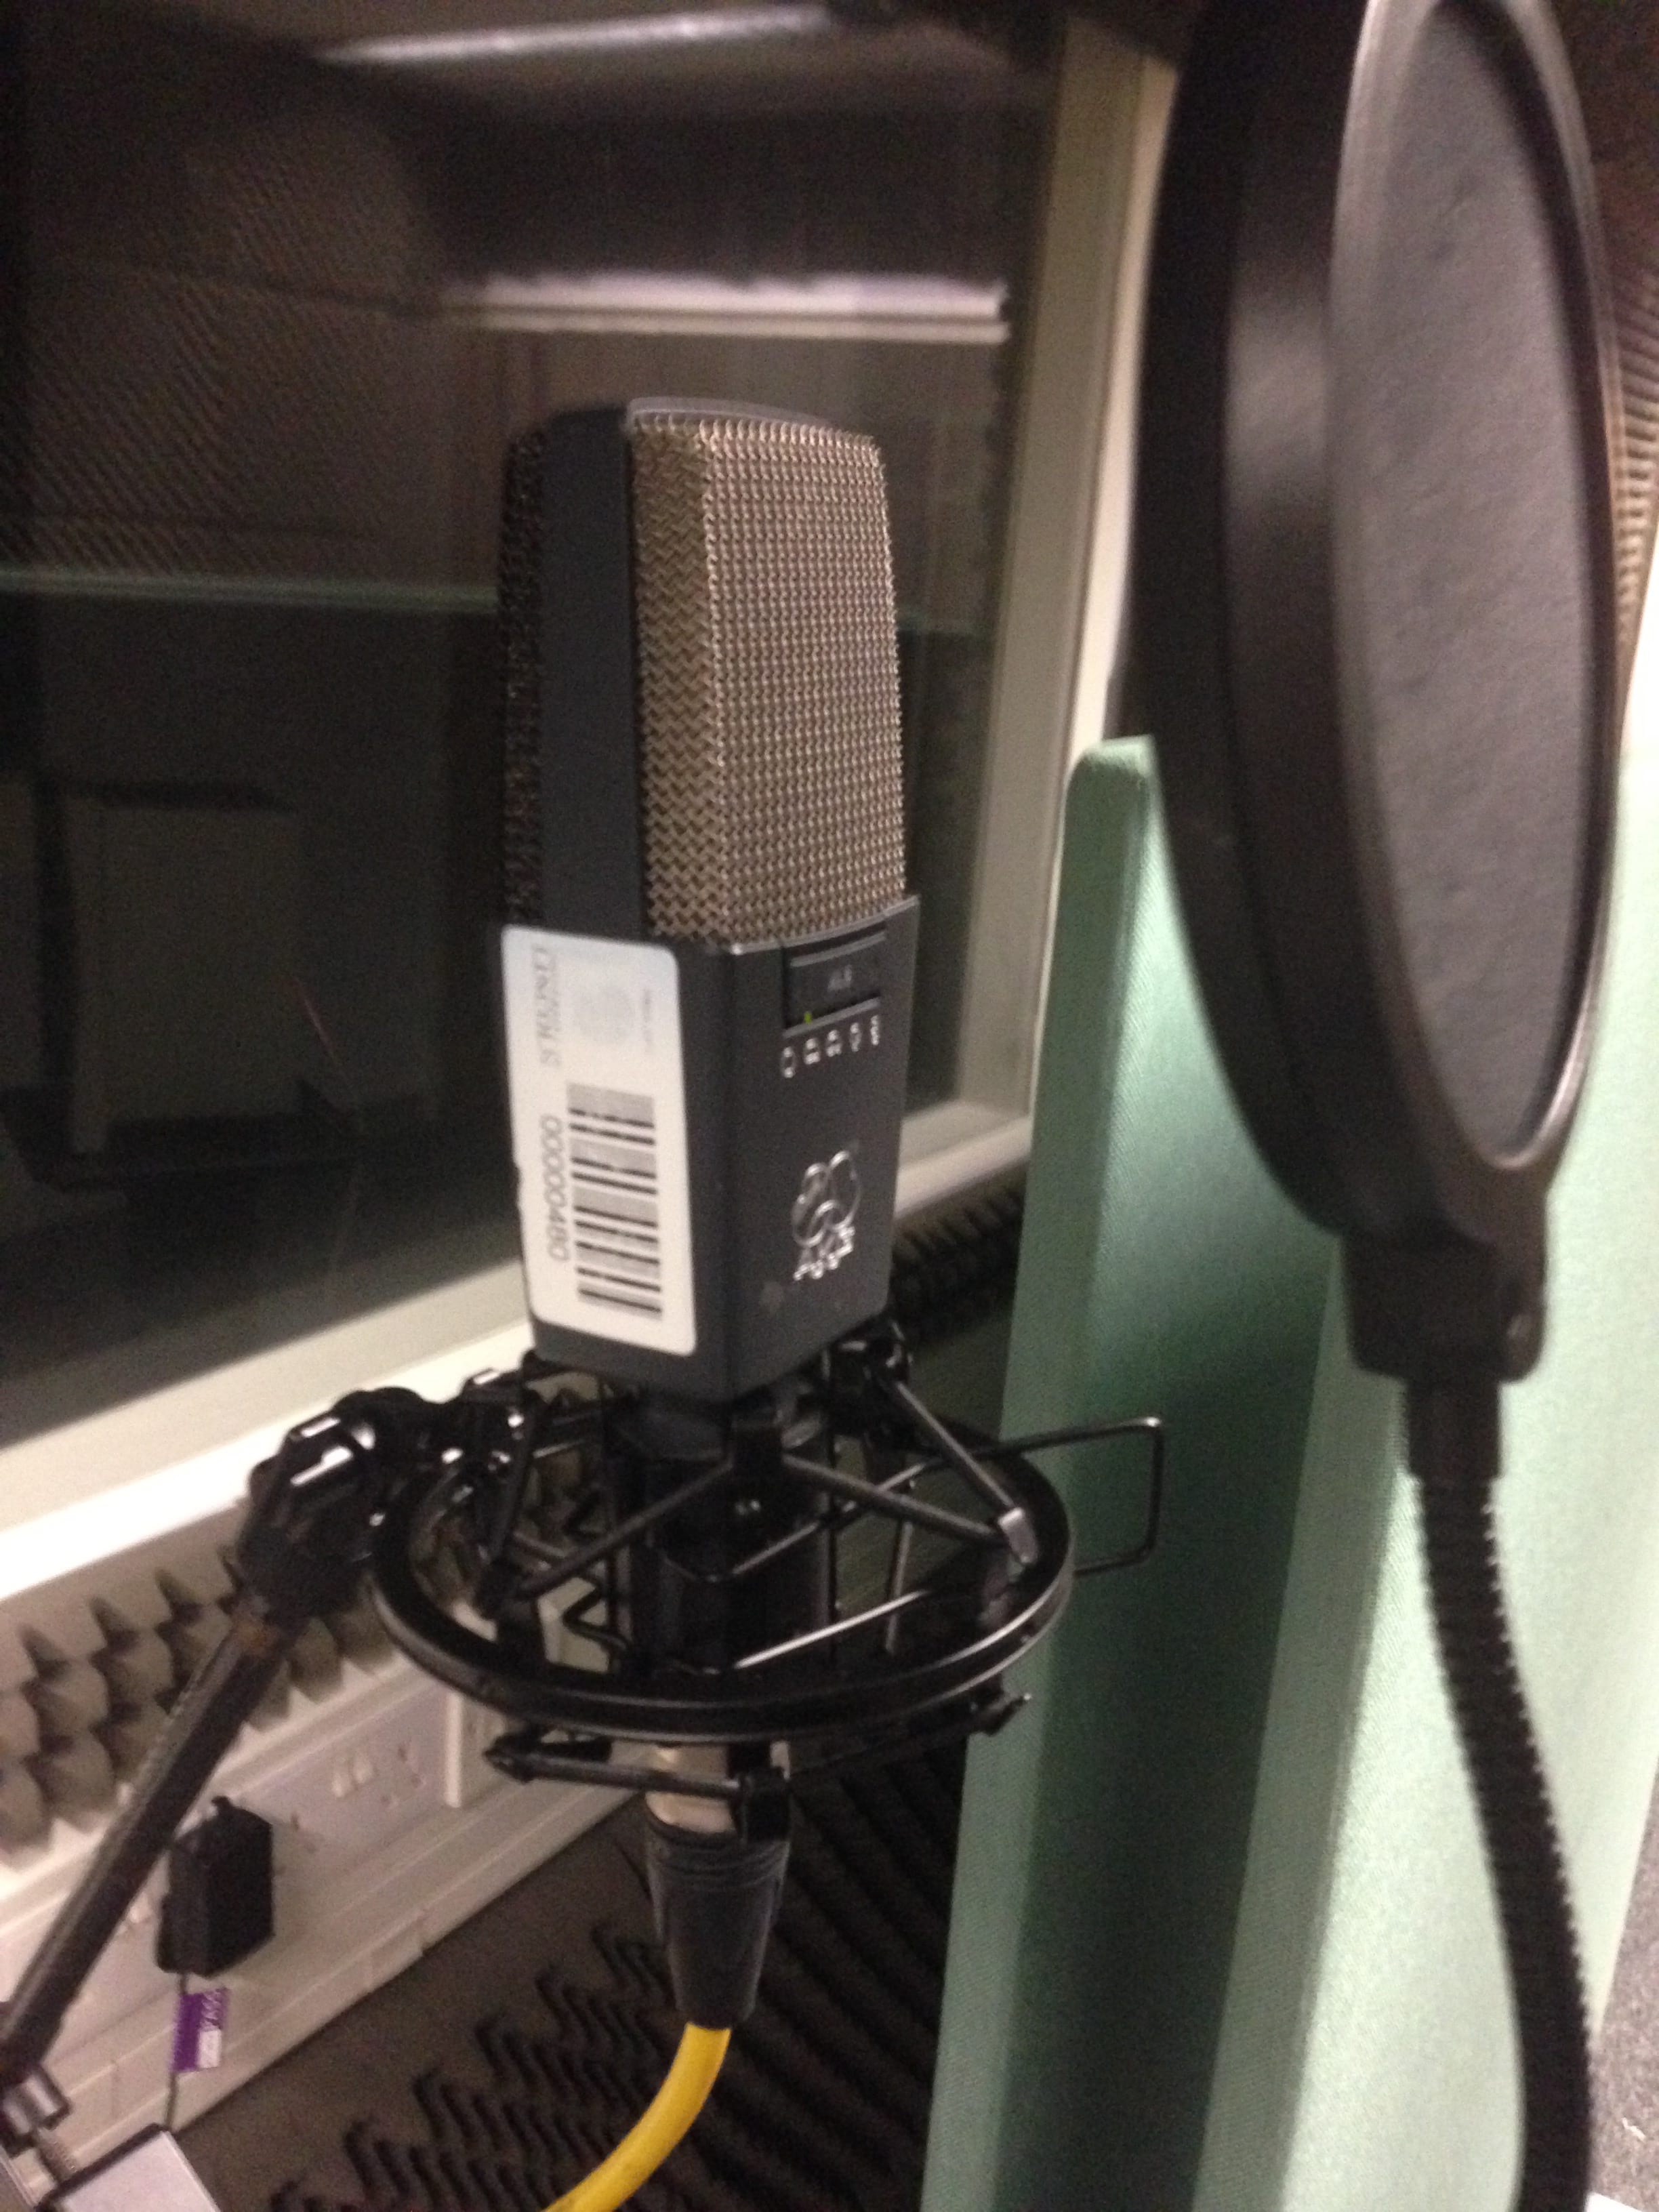
AKG C141 – A large diaphragm, mulit-patern condenser microphone with five different polar patterns (Omnidirectional, Cardioid, Wide Cardioid, Hyper Cardioid and Figure of Eight). Ideal for recording most instruments and situations due to it’s switchable features. Relatively flat frequency response when set to the Cardioid polar pattern. Little proximity effect.  Optional pad switch with three settings (-6dB, -12dB and -18dB) and a High Pass Filter switch with three options (-12 dB/octave at 40 Hz-12 dB/octave at 80 Hz and -6dB/octave at 160 Hz).

0310
Frequency Response Chart – AKG C414 (Cardioid)

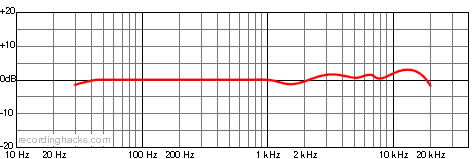
When we listened back to the three microphones we soon found out that each microphone changed the sound of the vocals in different ways. The Shure SM57 offered clarity however there was a lot of sibilance on the ‘S’ sounds. The AKG C414 set to the cardioid polar pattern and with the high pass filter on (-6dB/octave at 160 Hz) had a good sound however it was more dry than the others, picking up more plosive and breath sounds. The Electro-Voice RE20 with the high pass filter on (-2.25dB/oct at 400Hz) had a smooth, clear sound that was ideal for both the vocalist and the track.

Once we all had decided that the EV RE20 was the best mic to use, we positioned the vocalist in the dead room ready to record. During the sound check we decided to that the sound was a bit bass heavy so we added a low end shelf on the EQ on the desk around 100Hz.

We recorded the track all the way through, listened back to it and re-recorded the parts that we went happy using the playlist feature on ProTools. Using markers to mark points was useful in distinguishing the different parts of the song and parts we wanted to re-record.

Microphone List and Channel Guide

Ch. 1 – Vocals 1: Shure SM57

Ch. 2 – Vocals 2: Electro-Voice RE20

Ch. 3 – Vocals 3: AKG C414

IMG_0722
Shure SM57
IMG_0723
Electro-Voice RE20
IMG_0724
AKG C414
IMG_0721
Testing Microphones to use on the track

Week 3 – Guitars

This week we recorded the rhythm guitar parts for our cover of Fleetwood Mac’s ‘Don’t Stop’. For this we had two guitarists playing an acoustic and and electro-acoustic guitar. We decided to record both guitars at the same time in separate rooms using different recording techniques.

The first guitar was the acoustic guitar. For this we set the first guitarist up in the live room and used a Shure 57 placed above the 12th fret of the guitar and a sE2200a II condenser microphone as a room mic placed at the other end of the room. The sE2200a II had multiple polar pattern options – for this we used the omni-directional polar pattern to pick up the whole sound of the room.

The second guitar was the electro-acoustic guitar. For this we set the second guitarist up in the dead room and took the output from the guitar and plugged it direct into the DI rack and then into the desk.

Before we started recording, we grouped the two bass guitar tracks from last week and sent them to one fader – this allowed us to increase the volume of the bass guitar in the mix and keep the balance between the two tracks the same. Next we set up the headphone mix – the first guitarist on headphone mix A and the second on headphone mix B.

Once both guitarist were happy with their headphone mixes we started to record the tracks. Both guitars had a different sound which when combined created a full blend of sounds.

Microphone List and Channel Guide

Ch. 4 – Acoustic Guitar 1: Shure SM57 (Above the 12th Fret)

Ch. 5 – Acoustic Guitar 1: sE2200a II (Used as a room mic)

Ch. 6 – Electro-Acoustic Guitar: DI signal into the DI Rack

IMG_0712
Shure SM57 positioned above the 12th fret of the acoustic guitar
IMG_0713
sE2200a II condenser microphone positioned as a room mic

Week 2 – Bass Guitar

This week we worked on recording the bass guitar part for our multitrack recording project. We started by deciding how we want to record the bass, either through an amplifier or as a DI signal. We decided to use both and blend them together to get a better all round sound.

We started by setting up the DI box which allowed us to take the line in signal (the bass guitar) and split the signal into a thru connection (Bass Amp) and a line out (To the Desk). This meant that when playing the bass we would get a signal to both the bass amp and a direct signal to the desk. We turned the ‘ground lift’ switch on to eliminate the ground-related noise along the line. Once we had ensured that we were getting a signal into the desk from the DI signal we then moved onto the thru signal to the amplifier.

For the bass amplifier we wanted to experiment with different microphones to see which one gave us the best sound for our track. For this we used two microphones – an AKG D112 and an AKG C414. We placed the mics at equal distances from the centre of the cone so each mic was picking up a similar sound. We then went back to the control room and listened to each microphone on its own and with the DI signal. We decided that the AKG D112 was the better of the two as its large diaphragm offered a low resonance frequency that was ideal for capturing the bass sound we wanted for our track.

Once we had the amplifier and microphones set up, we set up a headphone mix using the guide tracks and drum tracks recorded last week and balanced the input signals from the DI and the amplifier. Once we were happy with the blend we recorded the bass guitar track.

Microphone List and Channel Guide

Ch. 13 – Bass Amplifier 1: AKG D112 (Close miking Bass amp)

Ch. 14 – Bass Amplifier 2: AKG C141 (Close miking Bass amp)

Ch. 15 – Direct signal from DI Box

DI Box
DI Box
IMG_0674
The Bass amplifier with an AKG D112 (Left) and an AKG C414 (Right)

Week 1 – Drums

So this week was the first week of our recording project for my group and we began with recording the drum track. The song my group has chosen to record is Fleetwood Mac’s ‘Don’t Stop’.

My role for this week was to assist with the set up of the equipment ready for recording. We first set up the drum microphones around the drum kit (See below for microphone list) and made sure the drummer was comfortable in the drum booth. Next we set up guide musicians in the live room – A vocalist and a guitarist.

Once everything had been set up, we went into the control room to start recording. First we sent phantom power to the condenser microphones and then set the input levels of all the inputs, making sure they were balanced and had enough input gain. Then we had to prepare the drums for recording – panning the overheads to get the kick and snare central, checking the bleed from the kit on the tom mics and finally flipping the phase of the snare top. Once this had all been done we did a quick run-through checking the levels in both the headphone mixes and the levels going into ProTools, then we recorded a couple to takes of the drum track.

Microphone List and Channel Guide

Ch. 1 – Guide Vocals: sE X1

Ch. 2 – Guide Guitar: Shure SM57 (Close miking guitar amp)

Ch. 17 – Kick Drum: AKG D112

Ch. 18 – Snare Top: Shure SM57

Ch. 19 – Snare Bottom: Audix i5

Ch. 20 – Rack Tom: Audix D2

Ch. 21 – Floor Tom: Audix D2

Ch. 22 – Overhead Left: AKG 414

Ch. 23 – Overhead Right: AKG 414

Ch. 24 – Room Mic: Audix ADX51

Full Drum Kit Set Up